Welcome
back and I am so happy that you are joining me. Today I am sharing another
Valentine's Day card, we only have a couple of days left. I love this season, 1st is because my son's
Birthday is on Valentine's Day, A BIG HAPPY BIRTHDAY TO JUSTIN, 2nd is
because of all the LOVE thats in the air. Today I have done an Easel
card for you and it's a very easy card to do. Once you do one you
will be doing them for every occasion. Now this card can be for a male
or female, all you need to do is leave the flowers off, and can be used
for a number of occasions.
 |
| Take one sheet of 12 x 12 card stock and cut it to 6 x 12 and score down the middle. |
 |
| Take the top part of the card and score at 3 inches. |
 |
| Use your left over card stock and cut to 6 x 6. I changed my mind and wanted to do the top part of the easel in Black so I took a black piece of card stock and cut 6 x 6. |
 |
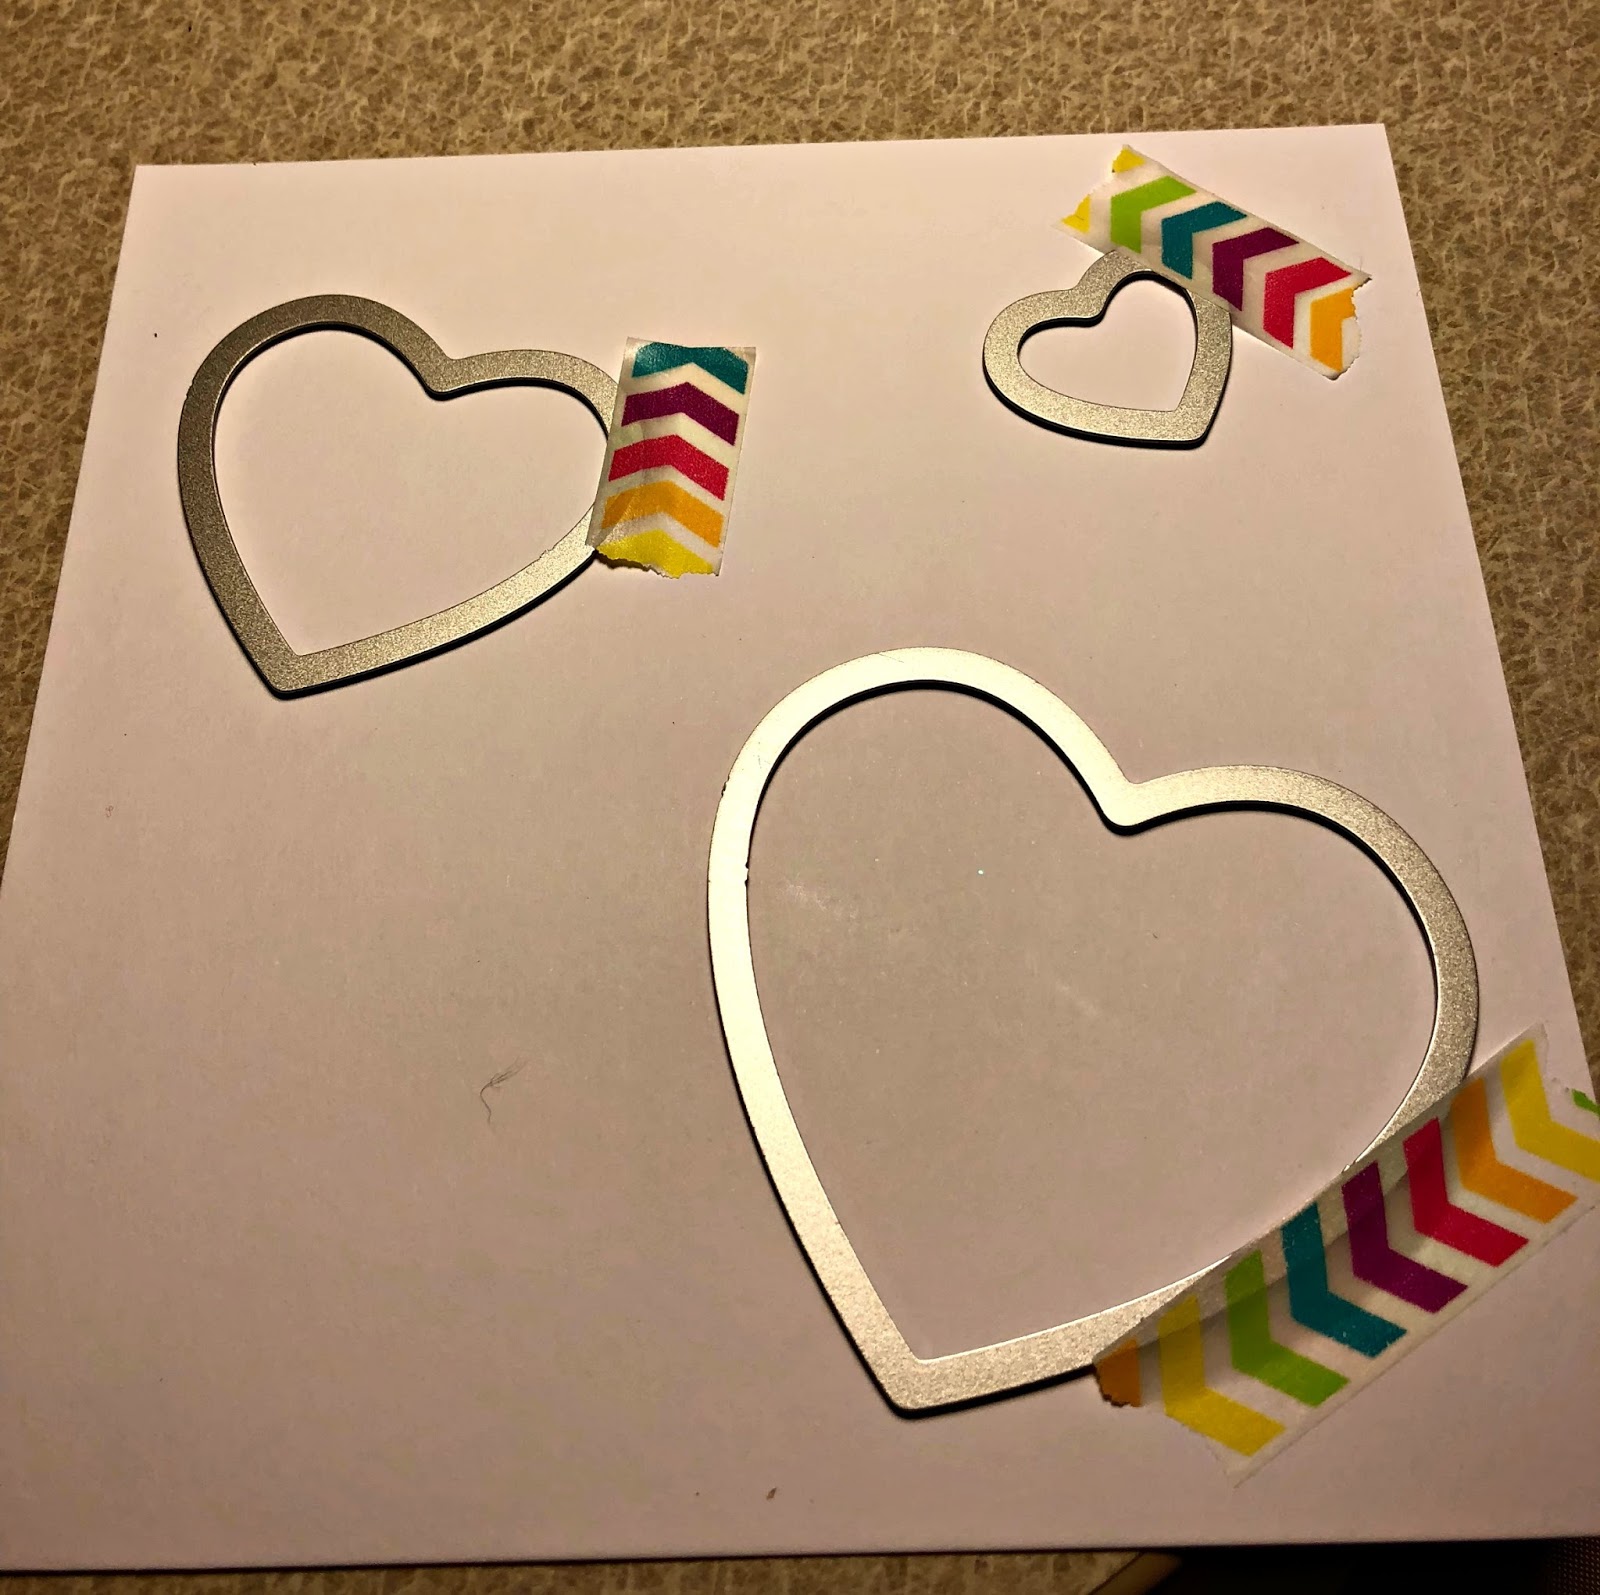
| I used Crafter's Companion Threaders Die to cut the Heart Shapes out. |
 |
| I cut the shapes out in white card stock because I am going to make them a different color later. I used washi tape to hold the dies in place so they do not move in the Gemini Die cutting machine. |
 |
| After cutting out the heart shaped dies I used Metallic Lustre in Rose Gold, you can apply with your fingers, a sponge, or a paint brush. I used my fingers just make sure you clean you hands before you move to the next step...lol |
 |
| When deciding to use black card stock on the top I cut the top and two edges with a scalloped cutter to give it a more decorative look. I then wanted to use a splatter effect on the black card stock with the Rose Gold Metallic Lustre so it will match the color of the hearts. You will need another piece of black card stock for the bottom stopper of the card this needs to be cute 6 x 2. |
 |
| Have yourself a little mixing plate on small saucer, take a paint brush and grab some of the Metallic Lustre and mix with water until thin enough to splatter. |
 |
| Take the paint brush and tap on your finger over the black card stock for the splattering. |
 |
| You will also need to do the splatter effect on the 6 x 2 inch stopper. After both black card stock are dry add to the base of the card. |
|
|
|
|
|
 |
| For the Sentiment I took a love stamp and embossed it on a piece of vellum and used a circle die to cut out. I put a plain piece of white card stock circle behind it so it could be seen better. I attached the two together with a Rose gold brad. For the V in the Sentiment I used a wooden heart with the Metallic Lutre Rose Gold on it. | | |
|
 |
| On the bottom black stopper card stock place some rose gold glitter ribbon on the bottom. Take the three Hearts and put dimensional stickers on the backs, arrange the large and medium on the top part of the easel. The smallest heart gets double the dimensional stickers, you want this one higher up to create the stopper for the easel card. I then took 3 paper flowers and put in the center of each heart. | | |
|
I hope you enjoyed this card and hope you can see how easy an easel card is to make. I am sure after making your 1st easel card you will be making them for every occasion. There are so many things you can do with these easel cards. If you have any questions please let me know and as always Happy Crafting, until next time.


Comments
Post a Comment